- Warm Clothes
- camera D5100 lens 18-135 @ 18mm for widest angle I have
- Spare or large SD card (I used 8gb of memory with all pictures)
- Spare batteries although I didn't have to change batteries
- Torch, light was a problem until I got to my spot.
- Ipad, I have an app that shows where the sun is coming up
- Phone like the Ipad I used mostly so I didn't get bored but I'd suggest you don't forget your phone in case you get hurt out there nobody can hear you scream
- Food, Drink
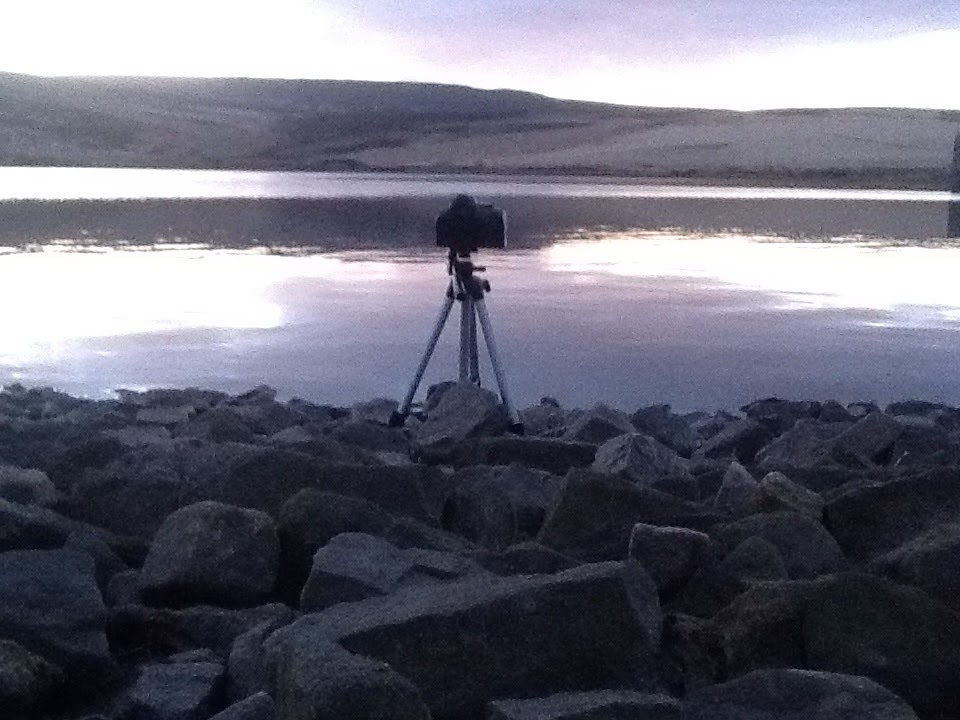
- Tripod. I took my cheap tripod, not ideal but I propped some rocks against it to stop the wind.
I then checked the weather. I had already done this the day before but you should check it just before you go in case there has been any changes.
I also checked the time for sunrise, in my case the sun was going to take longer to come up because I was down in between the hills, the Ipad app didn't take that into consideration either but you could clearly see it coming up.
I made my way there, took some practice shots and then started my interval timer to take 999 pictures every 6 seconds. I chose this setting so not to fill the buffer up because then the camera may have stopped. When I got up to 999 pictures I then started it again as fast as I could, hopefully this wont show in the video but if it does i'll mark down the time this happens so you can see my mistake, I could of instead of using the interval meter used a remote but I didn't have one.
My biggest mistake was of course the lack of light which indicates to me I was doing something wrong. I had taken some test shots before starting the 1665 pictures interval, but they didn't quite look like what I was trying to achieve in the end. So how was the mistake made and how could we avoid this again. Well lets have a look at the settings I was using ISO 400 as I wanted less noise and anything over that isn't too great in the dark areas on my camera I get hot spots and with 1665 pictures you certainly do not want to be spot healing that many pictures (although I could have made an action to spot heal them all in a batch but my computer would have died). So even though I could have used a high ISO, I didn't think it was practical. Camera Mode - I used Aperture Priority mode because as it went from dark to light I wanted the camera to make adjustments itself so not to blow out the picture, there are two modes that I could have used, manual or like me aperture priority. In manual you would have seen the transition from dark to light, in aperture priority you'd get the depth of field you set it in and then the camera would choose the best shutter speed based on the metering mode set by your camera, this is where I think I went wrong, my metering mode was set to Matrix mode and this mode meters from a wide area of the frame so it looked at the light and chose to darken the picture where as if I had chose spot metering or even center weighted it would have metered off the hill, decided it was too dark then the shutter speed would have been lowered to let more light in. That's where I think I may have gone wrong but then again doing that may have blown out the image when the sun came up but in this case as there was plenty of cloud it may have been OK. Before I try this again I will study this theory more and get some advice. I used f10 so I would get some nice detail of the hills when the sun came up, it was way too dark to start at f22 so f10 was my choice, although being so dark I would have got a lot better detail just with a wider aperture because lack of light is worse on detail than the affect from wide apertures. Again if I do this again I will look into this and come up with the best settings before I try again. My second mistake was focus but his could have just been down to the settings being wrong as the dark takes out the detail. I used jpeg format because I wasn't expecting it to be so dark and didn't think I needed to save them after, I also chose jpeg because I could fit more on a card and most importantly jpegs take less time for your camera to make meaning less chance of filling the buffer and also less time to quick edit in batch.
To conclude I want to say that I really enjoyed this task it was scary on the way but once there it was just like fishing but more interesting! Staying outside all night might not be everybody's cup of tea but for me I will be trying this again sometime and am thinking about using this for other projects once I'm good at it. The down sides for this would be the time it takes to not only take them but edit in batch then making the video, but with a good computer I think I could have halved the time, also you have to take lots of pictures to make any size video this will/could lower the price of your camera if you wanted to sell it because some buyers don't want a camera that has had taken lots of photos. I wasn't worried about this because I knew when I bought my camera it was to learn about photography and this would mean taking lots of photos before I sell it or it breaks.
Editing, first I added the folder of all the pictures into Lightroom, in develop mode I highlighted one of the pictures. I chose one with the sun in it as I was going to brighten it up. I didn't want the sun too bright or too much noise in the darks so a balance was found, even then my pictures are too dark but that was the balance I could live with. I then adjusted the other settings and reduced the noise, I rendered them in Lightroom at 24 frames per second which took a long time, I then added music and credits in Windows Movie Maker.
Research


Test Shots


Ipad Shots


Editing

This comment has been removed by the author.
ReplyDelete